Sunday, May 28, 2017

Patriotic Preschool Crafts

With tomorrow being Memorial Day and Summer/4th of July just around the corner I thought today would be the perfect day to share some of our past patriotic craft we've done.  These are both perfect for toddler and preschoolers but they can easily be adapted for older kids.  (originally posted on our old preschool blog).
----------------------------------------------------------
4th of July Stars for the windows- This was really easy and something a little different. 
Cut out red, white, and blue stars. Let your little one cut out little piece of paper to use as confetti.Next cut out a large piece of clear contact paper. Place sticky side up and add your stars.
Then sprinkled the confetti over the stars and contact paper.
Add another piece of contact paper on top to seal.
We hung it in the window so the people outside also have something cute to look at. It turned out pretty cute.

Variations-Make three separate ones (one for each star instead of the three stars together) and hang them in a row OR use it as a cute place mat.

Our Flags- Very simple and both girls helped. I cut out a blue square-the girls made polka dots with a white crayon for stars. I cut out red stripes of paper. The blue and red paper were glued down. Cut off the extra red that went over the sides. They aren't very evenly spaced and I am pretty sure one has a few extra stripes but the girls really like them.

We also listened to a few patriotic songs on the computer. It was great because some of the videos had flags and they were able to point them out.

Wednesday, May 24, 2017

P is for Princess

This was one of our very first preschool themes we did and its still my favorite.  We might need to do it again now that I have another princess loving 3 year old.
-----------------------------------------------------------------------
P is for Princess of course!
For our preschool activities this week we focused on the letter P. Our theme of course was princess. Here are some of the fun activities we worked on.

Princess letter complete with purple crown with pink polka dots and pasta hair. Aubrey cut out the polka dots, glued everything on, and helped draw the smile. She loved this activity.

Of course what princess doesn't need a crown. (Sadly this printable is no longer available but there are lots of cute crowns crafts on pinterest) We used the jewels to practice her shapes (most cut out to basic shapes), We practiced colors, and gluing.Here are the two books we used this week-Princess Sparkle and I'm going to be the best princess ever. Both are great books and both of my girls love them. Two other activities we did were coloring the letter P. Aubrey even added polka dots (remembering them from the previous activity). We used this template.She practiced "writing." She is a little young for this still but we are going to continue this with each letter. She had a lot of fun "doing her work" as she called it. I put the page in a sheet protector and let her write with her washable markers (it wipes off very easy with water). The template was found here.We did a big activity on Thursday by having a princess party just like in the book. We ate pizza, drank pop, and had princess pops (cake pops) for dessert. The girls dressed in their pretty princess dress. To finish up the girls and I had a pajama party with popcorn and watched the princess movie (Enchanted). We tried to watch it in our palace/fort but the girls didn't really like it and it kept falling down. I guess we need daddy to make the next one.

Through out the week we pointed out items that start with the letter P. We practiced the sound it makes, and we found all the P's in her princess books. It was a really fun week.

Monday, May 22, 2017

Painting Pigs with Pudding Activity

Here's a fun Letter P or Farm theme activity.  We did this one a while ago but it is one of my favorites... Painting piggies with pudding.  We talked about how much pigs love the mud and how they use it to keep cool.  Then we covered our own pigs with mud (chocolate pudding).

First I drew a pig for each of them on tin foil (I'm not an artist).  Then gave them a plate of chocolate pudding and let them use it to finger paint their pigs.


So much fun! 

My computer crashed last week and I hope to be back up and running sometime next week. Until then I'll be popping in with some fun posts from my old blogs like todays.

Friday, May 12, 2017

Weekend Roundup- Favorite Finds #4

I'm going to be quick today and just say Have a wonderful weekend and Mother's day.  Here are some really cute ideas I found this weekend.  Happy Crafting!

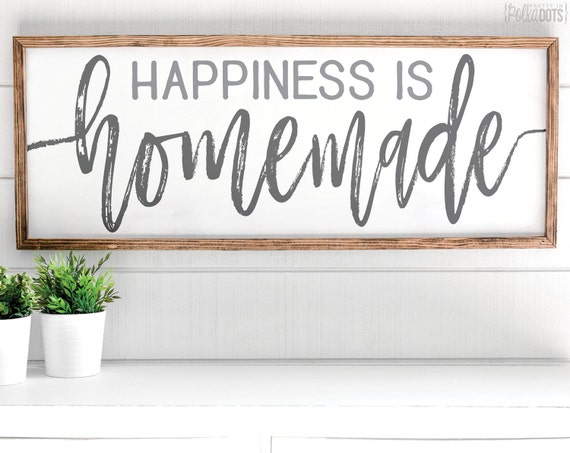
Love this sign.  found here

This is such a cute shirt.  Found here

This is such a cute playroom.  The sign, chalkboard, table, everything!  Found here

Adorable summer decor idea found here

I need some of these for my craft room.  The fabric is so cute as well.  found here

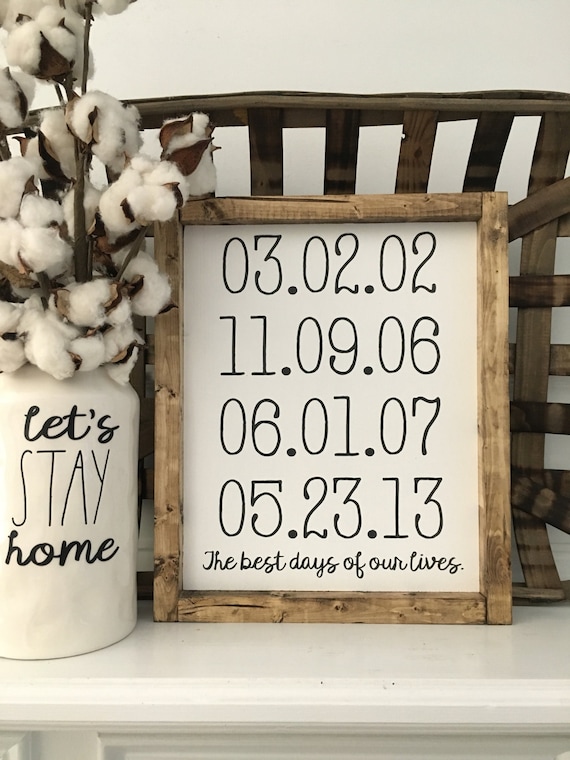
Adorable!  Lots of cute sign ideas in this post found here.  She uses her scroll saw but you can always use vinyl.

I'm always looking for ways to get my kids excited to read.  This bingo game is perfect.  Free download found here

Another cute free sewing pattern.  Found here

My kids would go crazy over this lemonade stand.  Tutorial found here.
Unicorns seems to be big right now and this one is so cute!  Pattern found here 

I dream of having a porch swing.  This one is perfect.  Free plans here

Any Moana fans?  How cute is this!  Pattern found here.

Make your own Magnolia wreath for a fraction of the cost.  Tutorial found here

How cute is this mermaid!  Free pattern found here.
Cute sign idea.  Found here.

Wednesday, May 10, 2017

Potato Stamping

This is one of those great craft that is a lot of fun and takes very little time to set up. Its great for any age.  Cut a potato in half, pour some paint and let them stamp away.  You can also use apples, carrots, celery, or whatever you have around.
 
 Learning comes in many forms.  When we do preschool I really like to include craft projects.  Its a fun way to teach colors, shapes, fine motor skills, etc.  But it also gives them freedom to be creative, to think outside the box, to problem solve, and helps build confidence.  So even when the project doesn't turn out how you think it should (this was going to be a flower) its okay!  Its the process and the fun that's important.  As a bonus you end up with some pretty special masterpieces to display proudly.

Tuesday, May 9, 2017

My Favorite Oatmeal Cookies

I found this recipe years ago and they are my go to cookie recipe.  I'm not a huge fan of oatmeal cookies but I love these. They are so good I often eat 5 a day (plus a few more).

Oatmeal Cookies
1/2 C. butter, softened
1/2 C. Crisco, softened
1 C. brown sugar
1 C. sugar
2 eggs
1 t. vanilla
1 t. salt
2 t baking soda
1/2 t. baking powder
2 1/4 C. flour
2 C. old fashioned oats
1 package mild chocolate chips

Cream together butter, Crisco, and sugars. Add vanilla and eggs and mix well. Add salt, soda, powder, and flour and mix just until combined. Stir in oats and chocolate chips. Scoop loosely into balls using cookie scoop and bake on cookie sheet for 8-12 minutes @ 350. (My convection oven takes about 7 1/2 to 8)  They should look not quite done when you pull them out and let them sit for a few minutes before removing them from the cookie sheet.

Monday, May 8, 2017

Mother's day Flowers and Gift Tag

 Here's a cute Mother's Day Craft that is easy enough for toddler to help or perfect for older kids to create by themselves.  This is perfect for any mom or grandma. We made this last week during activity days and they girls had so much fun.  In the center of theirs they wrote something they love about their mom.  
 You need:
Scrapbook paper, paper straws, tape (we used washi tape), glue, scissors, mason jar (pint size), hole punch, circle punch optional (2") and some ribbon or jute to tie the tag.

Print out your Flower template (here) . Trace on the back of your scrapbook paper and cut it out.  We used the large flower but I included a few different sizes just in case.

Download Flowers here
 
Use a punch or cut out a circle for the center.  Write something you love about your mom on the circle and glue it on.
Tape the straw to the back of your flower.  It actually worked best if you put the tape at the top of your straw.
 Cut out your tag (at the bottom of this post) , hole punch the top, and tie to your jar.  I added a strip of paper around the jar.
The flowers are a little large and heavy so they twist around a little.  If it bugs you, you can always add some candy or something to the jar to stabilize them.

They turned out so cute and I'm sure any mom or grandma would love them.


To Print the tag:
Click on the picture.  Right click to save to your computer.
Insert the image in a word document.  Size and print.  
Happy Mother's Day!

Friday, May 5, 2017

Weekend Roundup- Favorite Finds #3

I found so much cuteness this week and my to make list has grown quite a bit.  I'm pretty sure I say that ever week! Which ones are your favorite?


These are really cute and it would be a fun project for the kids to help with.  found here

I love the shelf, sign, and bench.  Okay everything about this.  found here

Adorable decor.  The cow!!!  found here.

How perfect are these and the size is amazing!  found here.

$20 barn door hardware.  Amazing!  found here 

Gorgeous frame.  Found here


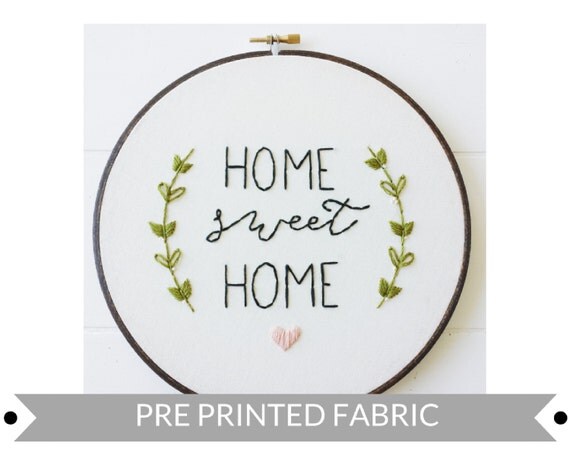
I love embroidery.  She has an entire shop of super cute patterns.  found here

Free pattern and tutorial for this cute dress.  Found here

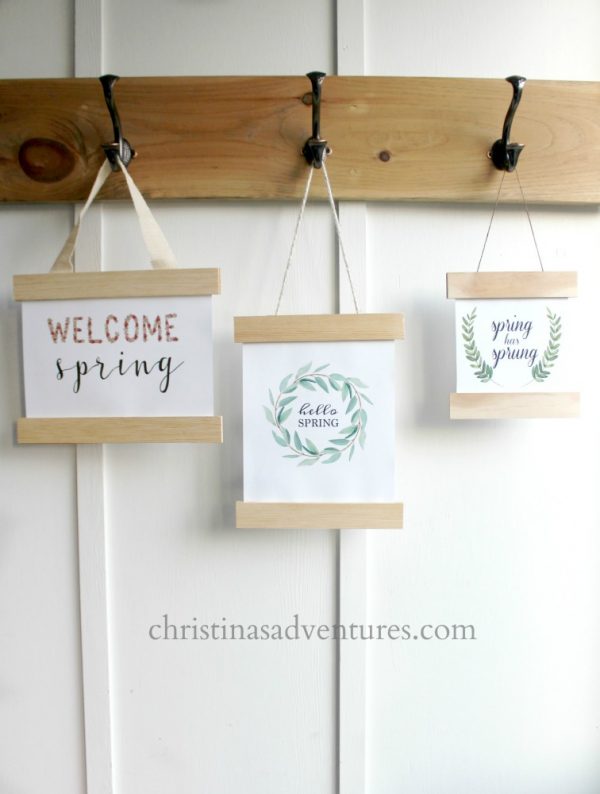
Adorable prints and tutorial found here.

I love this!  Tutorial found here

Brownie cookies!  Sound heavenly.  Recipe found here

This was just an image but its so cute!  found here.

Giant handmade flash cards!  I need some of these.  Tutorial found here.

Gorgeous sign.  Found here

You have to see the before!  Amazing transformation and I need this in my house.  Found here

How cute are these.  I love arrows and these girly are perfect.  Found here

This sign!!!  Found here

Frozen Strawberry Lemonade...my favorite.  Recipe found here

Have a wonderful weekend and happy crafting!