Showing posts with label 4th of july. Show all posts

Thursday, June 28, 2018

19 Fun and Quirky Holidays to Celebrate with your Kids in July


I'm so excited about this month's calendar.  July has some pretty fun and some quirky holiday I can't wait to celebrate with my kids.  I searched and found 19 kid friendly holidays like National Sugar Cookie Day, Shark Awareness Day, and Chocolate Day...yum!  I'm excited just thinking of the possibilities. 

We've been using these calendars all year and my kids still love them...yeah!  We pick a few and for the most part keep it pretty simple.  You do not need to celebrate all of them (we don't) just pick and choose what works for you and your family.

Download a copy of the calendar, print, display, and have fun.  


I'll be posting ideas as I finalize my plans and also as we celebrate some of these holidays.  My hope is that this will be something fun for your family and a way to create some special memories.  I'd love to hear your ideas and see pictures of your celebrations!


Thursday, June 29, 2017

Weekend Roundup: 4th of July


Here are a few last minute crafts and recipes for the 4th of July.

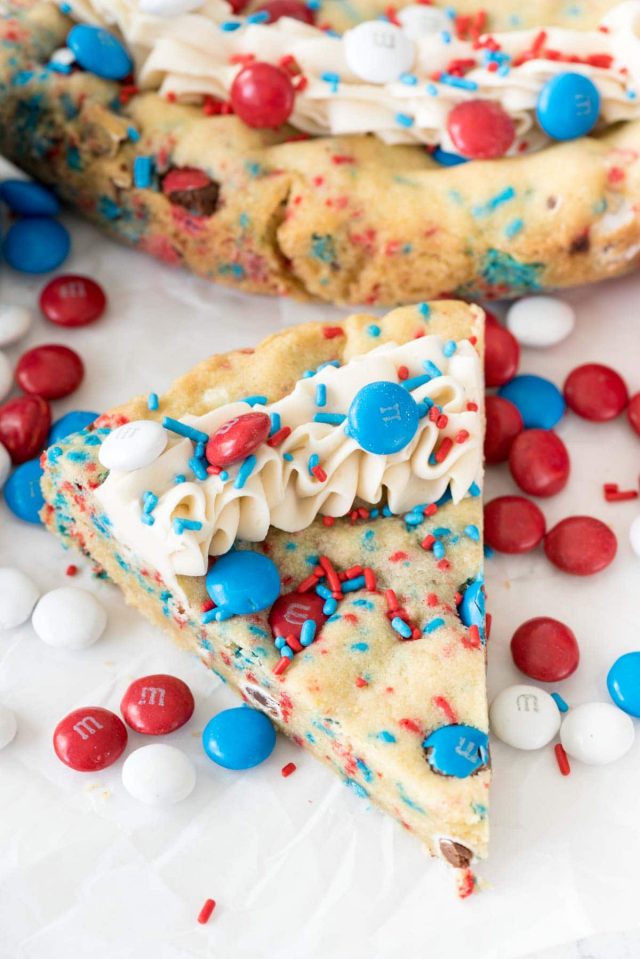
Firework Sugar Cookies will be making an appearance at our house.  Recipe found here.
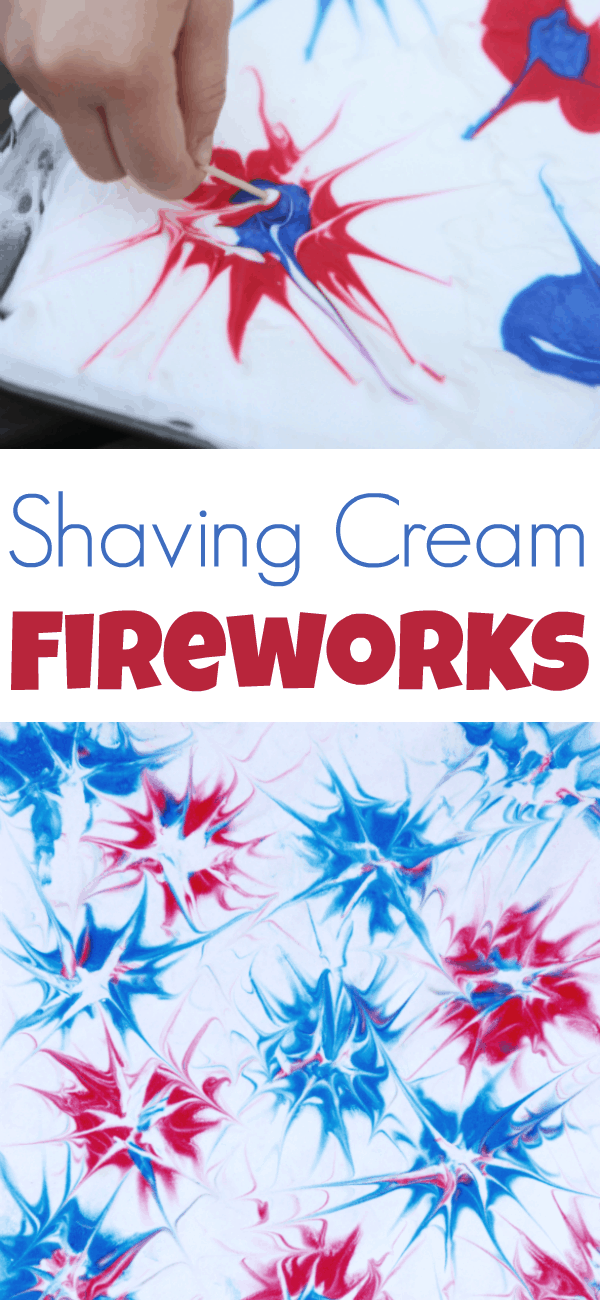
This is a fun one for the kids.  We did this last year and it was enjoyed by all my kids.  Idea found here


I love this printable.  The floral and colors really make it perfect.  Find it here


A cute and healthy treat.  Found here

I love, love, love this pillow.  Tutorial found here


Aww I love the paper flowers.  It's such a cute idea.  Tutorial found here.
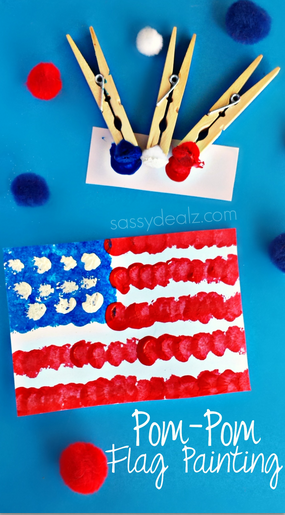
Great toddler craft.  Idea found here.

This patriotic star just might be my favorite.  Tutorial found here

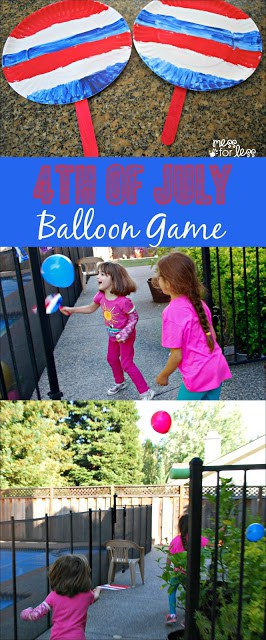
A fun way to keep the kids entertained.  Idea found here.

This pallet flag is gorgeous!  Tutorial found here

Landeelu has some of the cutest decor found here
and here.

Have a fun and safe weekend!


Tuesday, June 27, 2017

How to Make a Rustic USA Wood Sign

I love anything red, white, and blue and with the 4th of July just a week away I needed some decor.  I love the rustic charm of this sign and it's something that can actually be displayed year round. 

I used my scroll saw to cut out the USA silhouette but if you do not have access to one don't worry you can use paint, vinyl, or some scrapbook paper (how gorgeous would floral be!).  It won't have the same look but it will still be pretty darn amazing.  

*I'm going to share how to make the USA part with a scroll saw but if you are going with another method adjust to your needs.*

Supply list:
plywood -for map cutout
wood cut to size for your sign
1x2s for frame
paint 
stain (optional)
painters tape
miter saw for frame
scroll saw for map cutout
nail gun and nails for frame
wood glue


To get started I googled USA silhouette.  Go with a basic one especially if you are going to be cutting it out with a saw.  Copy and paste in a word document and size to fit your project.  Print and trace on your board.  I used thin plywood for this part.  I used carbon copy paper to transfer image to wood.   

 
 With a scroll saw carefully cut along the lines.  Paint blue.  

Now for the sign.  Paint your entire board white and let it dry.  Use painters tape to tape off your stripes.  Remember under the tape will be white you are leaving the red area exposed right now.
 Paint red.  I used my cute little helper.  
 Once it's dry pull the tape off and it will look something like this.  Next I sanded the entire board to give it a distressed look.  
 To give it more of an old look I rubbed a little stain over the paint and wiped it off immediately.  I did this on the stripes and the blue.


I forgot to take pictures to build the frame but its pretty easy I promise.  You are going to use 1x2s (small side showing).  Measure the length of the top and bottom of your frame.  Mark and cut boards.  Put in place.  Then measure from the top of your frame to the bottom of your frame to come up with the side length (see picture below).  Mark and cut.  Stain or paint for boards.  Once they are dry use a nail gun to attach directly to your sign.


Use wood glue to attach your USA cutout and let it dry.


Sunday, May 28, 2017

Patriotic Preschool Crafts

With tomorrow being Memorial Day and Summer/4th of July just around the corner I thought today would be the perfect day to share some of our past patriotic craft we've done.  These are both perfect for toddler and preschoolers but they can easily be adapted for older kids.  (originally posted on our old preschool blog).
----------------------------------------------------------
4th of July Stars for the windows- This was really easy and something a little different. 
Cut out red, white, and blue stars. Let your little one cut out little piece of paper to use as confetti.Next cut out a large piece of clear contact paper. Place sticky side up and add your stars.
Then sprinkled the confetti over the stars and contact paper.
Add another piece of contact paper on top to seal.
We hung it in the window so the people outside also have something cute to look at. It turned out pretty cute.

Variations-Make three separate ones (one for each star instead of the three stars together) and hang them in a row OR use it as a cute place mat.

Our Flags- Very simple and both girls helped. I cut out a blue square-the girls made polka dots with a white crayon for stars. I cut out red stripes of paper. The blue and red paper were glued down. Cut off the extra red that went over the sides. They aren't very evenly spaced and I am pretty sure one has a few extra stripes but the girls really like them.

We also listened to a few patriotic songs on the computer. It was great because some of the videos had flags and they were able to point them out.

Tuesday, July 3, 2012

Patriotic pillows

I love to decorate for holiday's but I don't really have the budget or the storage space to go all out for every singe one.  My solution pillows and pillow covers.  They are quick to make, inexpensive, can be made for any theme, easy to change any time, and they are pretty easy to store. 
The Fourth of July is coming up and I needed some decorations so I pulled out some red, white, and blue fabric scraps and went to work. I had just enough to make an adorable patchwork pillow.  If you can sew a straight line you can make this! add a little stuffing and it's ready to go.

With the left over scraps from the first pillow I was able to make a cute bunting design to add to this envelop style pillow cover.  Again minimal sewing, an old pillow, and a clever way to make the perfect letters (quick and easy of course!) completes this pillow. 

First I cut a few triangles for the corner
 On my computer I sized and printed out the words
 pin it under your fabric
 use a sharpie and start tracing the letters and coloring it in.  (you can also use paint or a paint pen)
 don't forget to draw the line behind your bunting.
 sew your bunting, and the back of your pillow (either envelope style or you can stuff it)

With the basics of these two pillow styles and your choice of fabric, makes decorating for any room or holiday easy and fun!

Tuesday, June 7, 2011

old american flag tutorial and Printable

Update: Another option would be to attach to a thin board and frame!  Also this was burlap from the garden section.  The holes are are much larger then burlap you buy at a fabric store.  I'm sure either on would work you may just end up with a little different finish.

 Old American Flag 
 
The size of the flag makes it the perfect statement piece for any room.  It is hand painted on burlap giving it texture and a more rustic and aged look.  The burlap also gives the appearance of  a painted canvas.  Its new spot is in the living room surrounded by family photos and I can't think of a more appropriate place.  It reminds me of the love I have for my country and the gratitude I have for the heroes that fought and those that continue to fight for us.  Its the perfect summer decoration or you could even use it year round.
Ready to make your own? 
Start out with a foam board  and cut a piece of burlap a little larger.  Tape it in place.
 Paint your box for the stars white and they start painting stripes.  Burlap was tough to paint.  dab a little and then just keep brushing.  You don't want to use too much paint at a time or you will end up with globs of paint like I did.
Cut some stars out on contact paper and adhere where you want them.  Paint your box blue.  Once it dries peal off your contact paper and you'll have white stars.
  
One it dries peel off your flag from your board (the paint makes it stick a bit).  I flipped my board over because it made the large paint spots a little less noticeable.  Spray your board with a spray adhesive and attach your flag.  Trim the edges.


This is one of my favorite patriotic songs so I thought it would be perfect to add to my home.
You are welcome to use this free printable if you would like.  Right click and "save picture as" then print it out.