Thursday, June 29, 2017

Weekend Roundup: 4th of July


Here are a few last minute crafts and recipes for the 4th of July.

Firework Sugar Cookies will be making an appearance at our house.  Recipe found here.
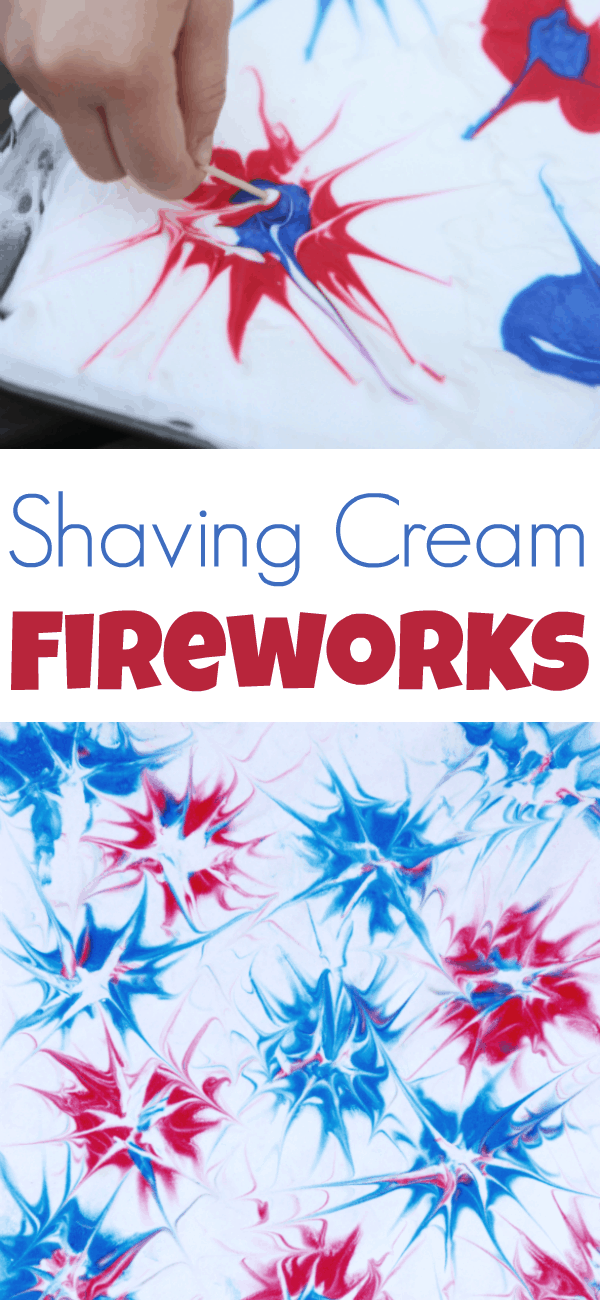
This is a fun one for the kids.  We did this last year and it was enjoyed by all my kids.  Idea found here


I love this printable.  The floral and colors really make it perfect.  Find it here


A cute and healthy treat.  Found here

I love, love, love this pillow.  Tutorial found here


Aww I love the paper flowers.  It's such a cute idea.  Tutorial found here.
Great toddler craft.  Idea found here.

This patriotic star just might be my favorite.  Tutorial found here

A fun way to keep the kids entertained.  Idea found here.

This pallet flag is gorgeous!  Tutorial found here

Landeelu has some of the cutest decor found here
and here.

Have a fun and safe weekend!


Tuesday, June 27, 2017

How to Make a Rustic USA Wood Sign

I love anything red, white, and blue and with the 4th of July just a week away I needed some decor.  I love the rustic charm of this sign and it's something that can actually be displayed year round. 

I used my scroll saw to cut out the USA silhouette but if you do not have access to one don't worry you can use paint, vinyl, or some scrapbook paper (how gorgeous would floral be!).  It won't have the same look but it will still be pretty darn amazing.  

*I'm going to share how to make the USA part with a scroll saw but if you are going with another method adjust to your needs.*

Supply list:
plywood -for map cutout
wood cut to size for your sign
1x2s for frame
paint 
stain (optional)
painters tape
miter saw for frame
scroll saw for map cutout
nail gun and nails for frame
wood glue


To get started I googled USA silhouette.  Go with a basic one especially if you are going to be cutting it out with a saw.  Copy and paste in a word document and size to fit your project.  Print and trace on your board.  I used thin plywood for this part.  I used carbon copy paper to transfer image to wood.   

 
 With a scroll saw carefully cut along the lines.  Paint blue.  

Now for the sign.  Paint your entire board white and let it dry.  Use painters tape to tape off your stripes.  Remember under the tape will be white you are leaving the red area exposed right now.
 Paint red.  I used my cute little helper.  
 Once it's dry pull the tape off and it will look something like this.  Next I sanded the entire board to give it a distressed look.  
 To give it more of an old look I rubbed a little stain over the paint and wiped it off immediately.  I did this on the stripes and the blue.


I forgot to take pictures to build the frame but its pretty easy I promise.  You are going to use 1x2s (small side showing).  Measure the length of the top and bottom of your frame.  Mark and cut boards.  Put in place.  Then measure from the top of your frame to the bottom of your frame to come up with the side length (see picture below).  Mark and cut.  Stain or paint for boards.  Once they are dry use a nail gun to attach directly to your sign.


Use wood glue to attach your USA cutout and let it dry.


Friday, June 23, 2017

Weekend Round up #5

It's been a few weeks but I thought it was time to bring back the weekend round up and feature some of my favorite projects I've found recently.  This week there is a little bit of everything.

So this is just gorgeous and the frame is a hula hoop!  Find the tutorial here.

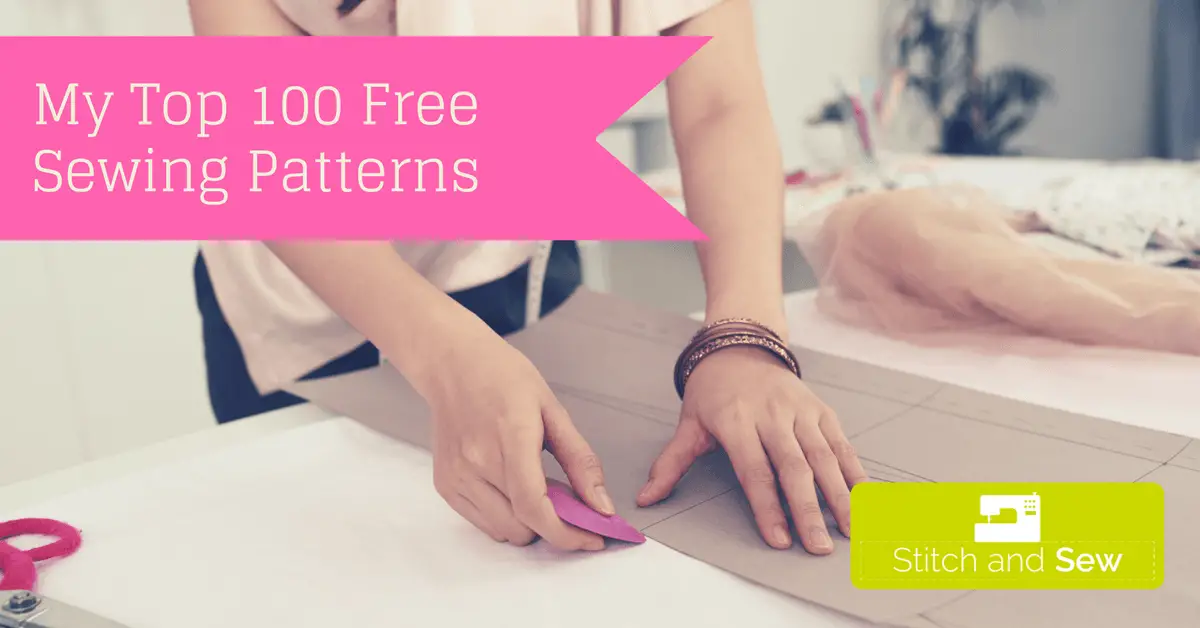
Here is an amazing list of Free sewing Tutorials.  She has a little bit of everything.

It's never to early to start crocheting hats and this one is adorable.  Free pattern here

Love these for the 4th of July.  Tutorial found here.

Another blanket ladder.  I love these.  You can find the tutorial here.

Gorgeous idea for a house sign.  Tutorial found here.

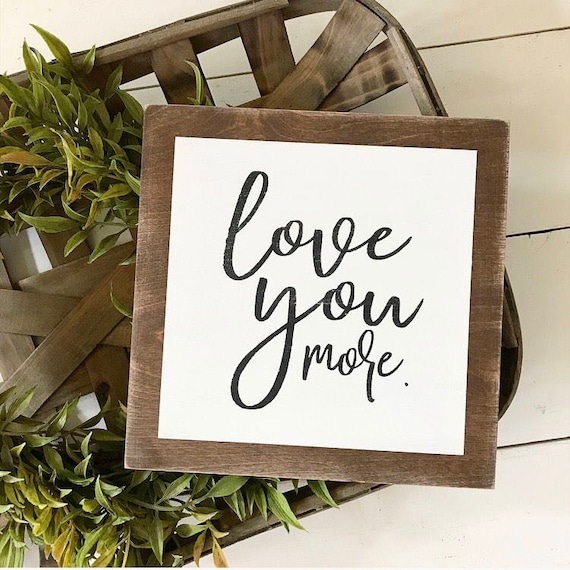
Amazing sign and I love the faux frame look.  Find it on etsy here.
This is the cutest.  Its a giraffe puzzle made out of rocks.  My kids would love to make and play with this.  Tutorial found here.

I found another amazing builder blogger.  This is for shoes and would be amazing in an entry way.  Tutorial found here.

Great idea to use your printables or family photos.  Tutorial found here.


So many fun ideas found here.

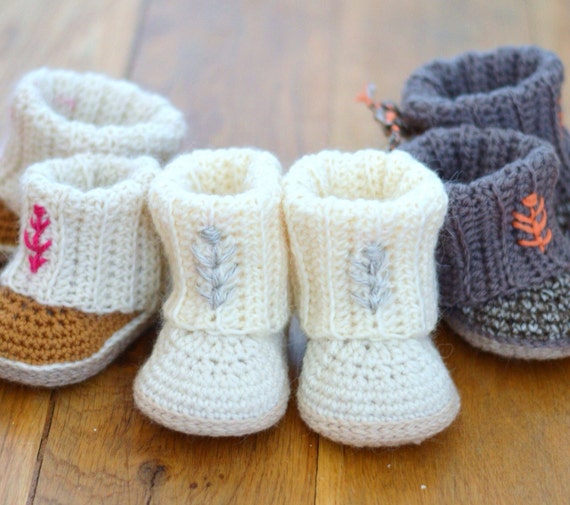
How cute are these?!?  I need this pattern.  Found on Etsy here.

I have a few little girls that would love this.  Found here.

Awesome free printable found here.
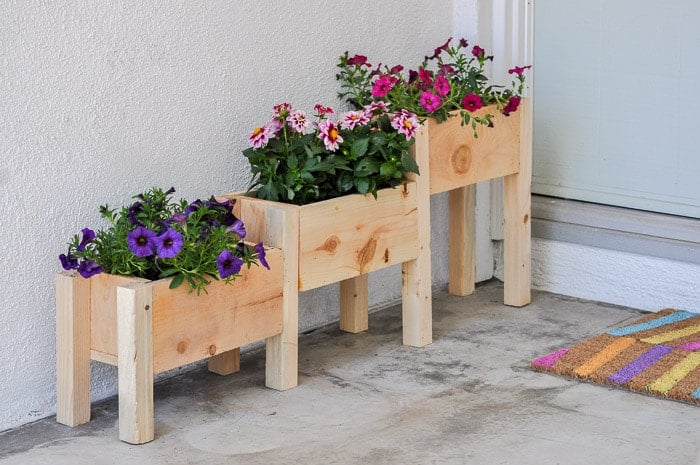
$10 Tiered planter is so amazing.  Tutorial found here.

Have a wonderful weekend.


Wednesday, June 21, 2017

Adorable Crocheted Giraffe

I had some bright and fun yarn that I wanted to uses for a special gift.  I ran across an adorable giraffe pattern and knew it would be perfect.  The free pattern found here.
It's a great size for cuddling.

If you are new to amigurumi this is a great one to start with.  There are lots of pieces but very easy to follow.

Thursday, June 15, 2017

Farmhouse Frame Tutorial

I am so excited about this frame and hope you are too!  I love the farmhouse look and have really been into the framing sign craze you see everywhere.  It doesn't quite work when you want to frame a picture though and this time I wanted the frame to more of a statement piece.  I knew I wanted to use this awesome cow print for my kitchen but this frame can really be used for anything.  I think it would be a gorgeous frame for family pictures.  It does take twice as much wood but it so worth it and depending on the size of your print its still around $1 maybe $2.  

Here's what you need: 
1x2x8 furring strips (these are the super cheap boards that are around $1).  You can use nicer wood.  *The amount needed is depends on the size of your print. 
wood glue
miter saw
Wood scraps (optional but very helpful)
nail gun
paint or stain
sandpaper
optional for the back-thin plywood and staple gun, and saw (jigsaw or scroll saw work best) or you can just tape your picture to the back. 

To start grab wood scraps and place on top of your picture  where you want your frame to hit on the sides.  I suggest giving yourself at least 1/4 inch on each side.
*If you do not have scrap pieces you an use anything you have on hand or you can measure the bottom and subtract 1/2" to get your next measurement.  I just like to do it the way above for visual purposes...easier to cut once.

Once you have your side boards in place measure the distance between the two boards.  Mark and cut your board.
Do the same for the top (should be the same length as bottom board.)  Now these two boards are going to be your guide for your side cuts.  Put in place (again at least 1/4 " in).
To get the lenght of your side boards you are going to measure from the very bottom of the bottom board to the very top of the top board (check picture below for reference).  mark and cut.  Do for both sides.
You should end up with something like this.  Sand.  Then paint or stain.
Next grab your wood glue and glue the 4 corners together.  Let it dry overnight (or if you are inpatient like me give a couple hours)


You can stop here if you want.  Its adorable but if you want to add a little something keep going.
This time the small side of your wood is going to be the side showing.  Lets start with the top and bottom pieces.  Measure the top of your frame mark on  your new board and cut.
Do the same for the bottom.
For the sides you are going to measure from the top of the top board to the bottom of the bottom board (just like last time just remember to have your new boards with the small side up!)

When you have your boards cut  it will look like this put together.


A little close up.

Stain your boards and use a nail gun to attach.  This is what your finished frame will look like.
Now you can tape your picture to the back or if you want it a little sturdier here's another option.
Tape your picture to the thin plywood and trace around your picture.  Cut out using your saw of choice.  I taped my picture to the plywood so it wouldn't slip but  you can just sandwich it between the back of the frame and the plywood.  Staple plywood to the back of the frame.  One word of caution...know where your staples will enter the wood.  I miscalculated and missed the frame putting visible holes in my picture.  Luckily I could shift the picture enough that it is hidden.  I would hate for you to do the same thing.
You really want it thin if you are going to hang it on the wall.

Enjoy your new frame.