Friday, December 29, 2017

19 Fun Holidays to Celebrate in January


With the arrival of baby #5 just a little over a month a way and the New Year I've been trying to find some ways to simplify life and figure out a routine that works for us. One of the big thing we changed is our preschool plan.  We were apart of a little group where we rotated houses.  It was fun but it wasn't the right fit for us.  So that means we will be doing preschool at home and there will be more posts and plans for you!  I can't wait!

One thing I'm excited to start is this monthly calendar full of some fun and kind of quirky holidays.   I found some kid friendly ones that I think will be perfect to incorporate into our preschool plan or use it as a fun way to connect with your kids (I'm really excited that my older school aged kids can join in as well).  Simply download a copy of the calendar, print, and display.  You do not need to celebrate all of them (we probably won't) just pick and choose what works for you and your family.


My kids love something new and unexpected.  It doesn't need to be anything elaborate or take a lot of planning.  Many days just do exactly what it says like take a bubble bath, hug some one, or do a puzzle.  Here are a few ideas I came up with (click on the images to take you to the post):

New Years


Bird day


Martin Luther King Jr. Day


Popcorn day: make a bag of popcorn, snuggle up and watch a movie.  
OR try one of the delicious popcorn recipes on pinterest.  
Like this Unicorn popcorn


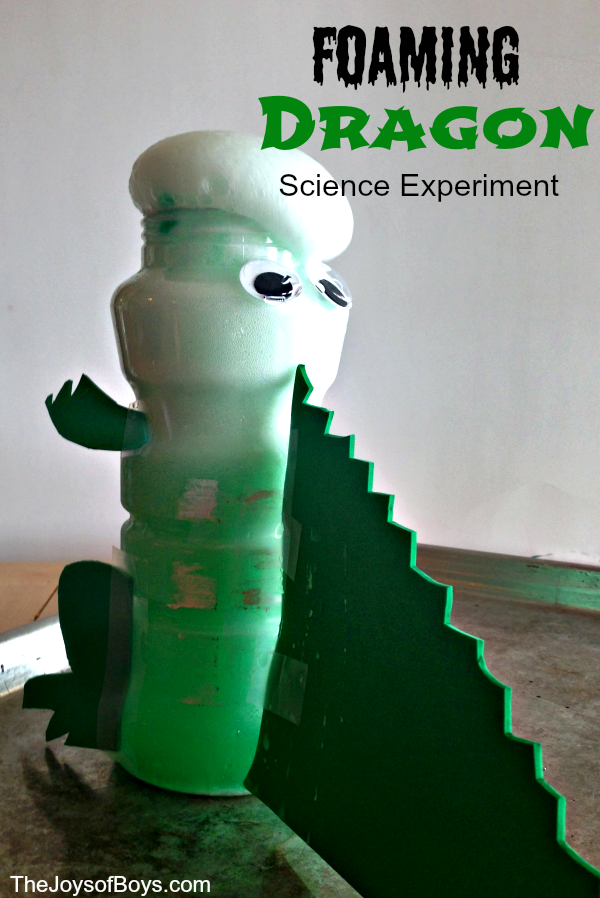
Appreciate a dragon day


or watch How to Train Your Dragon or my favorite Pete's Dragon!
I'll be posting ideas as I finalize my plans and also as we celebrate some of these holidays.  My hope is that this will be something fun for your family and a way to create some special memories.  I'd love to hear your ideas and see pictures of your celebrations!


Amazing graphics by: Melonheadz Illustrating, Educlips,  

Monday, December 18, 2017

Christmas Bingo! (Free printable game)


Bingo is such a classic game all kids and adults love.  I wanted something fun to do with my cute kids one night and this is the perfect addition to any family fun night, class or family party, etc.  I included 5 different boards so you can have multiple players.

We use Christmas M&M's for markers and have fun eating them as well!  I printed mine on cardstock for durability.  Laminating would be a good idea if you have that option just to be able to keep them for years.

There are 3 pages of calling cards as well.  Print on cardstock, cut, and your ready to play.
As a bonus you can always print 2 sets of calling cards for an adorable Christmas Match Game.

Tuesday, December 12, 2017

Rustic Pallet Christmas Sign

 Can I just say I love this sign!  I made it for a recent craft fair and was a little sad that it sold and I couldn't take it home with me.  I was in a rush and didn't take step by step pictures but it's not to difficult. 
 I cut my deer out with my scroll saw.  If you don't have one not problem...use paint or vinyl or even a fun patterned cardstock.  It won't be the exact look but it will still be amazing.   

Here's a quick how to if you are using a scroll saw...this is from another post so just pretend its a deer.  
To get started google deer silhouette...there are also a lot on pinterest..  Go with a basic one especially if you are going to be cutting it out with a saw.  Copy and paste in a word document and size to fit your project.  Print and trace on your board.  I used thin plywood for this part.  I used carbon copy paper to transfer image to wood.   

 
 With a scroll saw carefully cut along the lines.  Paint.

For the pallet background I actually used cheap cedar boards (I think they are used for fencing?) and cut 3 to about 12" long.  I think the board was around $2.50 and I easy had enough for this sign.   Sand and paint!  They start off rough but will get pretty smooth.  I was going for the rustic look and this type of wood works well because your edges are not going to be perfectly even.  If you want a smoother look you might want to use a nicer board.  Lay them where you want them and use wood glue to attach them together.  Once it's dry flip over and secure with some staples.  It might still be a little wobbly but your frame will help secure it.
Now to make the frame...back to the other post for instructions. You are going to use 1x2s (small side showing).  Measure the length of the top and bottom of your frame.  Mark and cut boards.  Put in place.  Then measure from the top of your frame to the bottom of your frame to come up with the side length (see picture below).  Mark and cut.  Stain or paint for boards.  Once they are dry use a nail gun to attach directly to your sign.

Glue your deer head to the center of your boards using wood glue.  Let it dry.  That's it!  

Saturday, December 9, 2017

Texas Sheet Cake

When I moved my blog to this new address I kept a lot of my favorite projects and recipes.  Today I realized I forgot this one and it is my FAVORITE dessert.  I know the picture isn't super awesome (maybe one day I'll get the hang of photography) but don't let it fool you this one is a keeper.

-----------------------------------------------------


I LOVE Texas Sheet Cake. This is one of my favorite desserts my mom makes. When I left for college I did not know how to cook/bake anything (I've come a long way in seven years). This is one of the recipes I borrowed and even I was able to make it. There you have it-easy and delicious.
Texas Sheet Cake
*Heat to boil:
4 Tbsp. cocoa
1 stick of butter
1/2 cup oil
1 cup of water
*Remove from heat and pour over:
2 cups flour
2 cups sugar
*Add:
1/2 cup milk
2 eggs
1tbs baking soda
1tsp. vanilla
*beat for 2 minutes. Bake at 350 for 20 minutes.
Frosting
*Heat to boil:
4 tbsp cocoa
6 tbsp milk
1 stick of butter
*pour over:
1 box of powered sugar (I use about 1/2 a bag)
*Add:
1 tsp. vanilla.
*Beat (add more sugar if needed) and spread over hot cake. ---I like to make my frosting as soon as I pull the cake out of the oven. As soon as the frosting is ready the cake is cool enough for it to be added. If the cake is too hot the frosting will just soak through (that is how my sister likes it).

Wednesday, December 6, 2017

Countdown to Christmas Chalkboard Sign

I'm a little late getting this posted but its so quick and easy you can have it ready for most of December.


I actually made it for a craft fair and thought I took some pictures but I can't seem to find them so here's a quick run through.

Supplies: (this post does contain affiliate links)
Board from Walmart-I loved the shape but you can cut a board any size and leave the edges square and still have an adorable sign.
paint-your choice of color
Lettering-Vinyl but you can always paint it
mini board-scrap wood cut to size (you can also find small wood cutouts at walmart in the craft section)
Chalkboard paint (not be be confused with chalk paint)-I used one similar to this.


Paint you main board and add your lettering.
Cut your small board to fit space and paint with chalkboard paint.
Glue your little board to the main board with wood glue and let everything dry.
season with chalk and you are ready to write your numbers.

*You can set your board on the shelf, add a hood to the back or some twine to hang.

Monday, December 4, 2017

December Visiting Teaching Handouts (free printables)


Can you believe its already December?!?  Time sure flies.  I love this time of year and that it brings out the best in people.  Even in the excitement and busy time I hope it also reminds us to take a step back and serve others.  I hope we remember the real meaning behind Christmas and all that our Savior has done for us.  This months message is beautiful and so fitting for this time of year.  You can find the full message here.


To Print:
Click on the picture.  Right click to save to your computer.
Print at home or send it to your favorite place to print pictures.
If printing at home I like to insert the picture in a word document.  Size and print 3 or 4 to a page depending on how many you need.  
These are formatted as 5x7 but can easily be resized to fit your needs.

Sunday, December 3, 2017

Handprint Christmas Tree

There is something so sweet about a handprint.  Here's a quick and fun idea from my old preschool blog.
-----------------------------------------
I got this idea from A little tipsy. I just painted Aubrey's hand green and had her stamp it on the paper 3 times...one a little higher then the last one. Let it dry and then cut out. We glued it onto a piece of paper. Aubrey glued on pom poms and a foam star. The trunk is just construction paper.