Wednesday, November 1, 2017

November Visiting Teaching & General Conference Printables


November is a little tricky to create Visiting Teaching printables because you are picking a talk and quotes from General Conference.  There are so many amazing ones to choose from.  I decided I'm going to add a few of my favorites and maybe one will be your favorite too.  But if you have a quote or talk you just love and would like a printable for it please let me know!  I'd love to create and share some prints based on the quotes you would like to share with your sisters.  Just leave a comment or email me and I'll get to work...it may take me a day or two so please keep that in mind.  I'm excited to see how this goes and if its something I can continue to offer in the future.


This first set is from President Uchtdorf's talk in the General Women's Session.  It is such a great one on how our attitude effects our life.


This next one is from President Nelson's talk on The Book of Mormon.  There were so many quotes I loved that I just added them all.  


This last one has a few quotes from President Eyring's talk. I love that he talked about going forward without fear and also the best way to do this is by serving others.

As  continue to read and study the the talks for General Conference I hope to add more prints and please send me your favorite quotes.  I love giving handouts to the sisters I visit but especially with Conference talks I love to print them out to display in my house (framed, on the fridge, taped on my mirror, etc.)

To Print:
Click on the picture.  Right click to save to your computer.
Print at home or send it to your favorite place to print pictures.
If printing at home I like to insert the picture in a word document.  Size and print 3 or 4 to a page depending on how many you need.  
These are formatted as 5x7 but can easily be resized to fit your needs.

Friday, October 27, 2017

You are Stronger then you Realize (Free Printable)

Today just felt like a free printable day.  This is one of my favorite quotes.  I hope you love it as much as I do. 

To Print:
Click on the picture.  Right click to save to your computer.
Print at home or send it to your favorite place to print pictures.
If printing at home I like to insert the picture in a word document, size, and print on cardstock.
It is formatted as 5x7

Wednesday, October 25, 2017

F is for Frankenstein Mini Pack

There is still a few more days before Halloween and this is such a cute way to squeeze in some learning.  I love this Letter F Mini Packet  and you can download it here.  
*The downloaded version will not have the watermark.

First up is some Letter writing practice and coloring.  Seriously how cute is this little guy?  I also purchased a new font so I can make more writing practice sheets for my upcoming themes.  I'm so excited about this.

Next is a Halloween version of Simon Says.  Change the name to Frankie and you have the perfect themed game.  Use the ideas on this page or make up your own.  Either way it will be lots of fun.  You can also cut the ideas out and let the kids pick on from a jar.  
*As a little extra bonus you can cut out the adorable Fankenstein and use it to play hot and cold.  We did and it was a favorite!

The final game  is Roll a Frankenstein.  (the idea came from here) The idea is to take turn rolling  the dice and the first person to complete their Frankenstein wins!  You can adjust rules to the age group.  For example older kids I give them one roll if they have already rolled that number it moves on the the next player.  For the younger ones we give them some extra rolls until they get a new number.

I did include a template to create your own dice.  This has numbers on it not dots.  It is completely option-you can use dice from any board game you have at home. I wanted the kids to recognize what each number looks like and then on our Reference key (just below) they can count the dots to figure out what number they got.
This can be played two ways...
1. Is the less prep option.  Give each player a  piece of paper and pencil and let them draw their own Frankenstein.  Works great for older kids.  Everyone starts with a head.  
2. From construction paper cut out each piece before the game-1 set per player.   I stuck with basic shapes and we reviewed these before we started the game.
You will need:
 a mouth-not really a shape
eyes- oval in white and circle in black
 hair-triangles (I did 4 per set)
nose oval
 bolts point out the 2 rectanges
 scar 4 skinny rectangles
Face- green rectangle 
I did mine jumbo size so we could turn it into a craft after but you can make them much smaller.  After we played our game I let the kids glue their Frankenstein together.


  Its amazing how different and cute they all turned out.


You can find more of our preschool themes here and lots of great Halloween inspiration on our Fall preschool pinterest board.

Monsters Inc. Movie Night and Cookies


My 2 youngest just discovered Monsters Inc. and Monsters University.  Its been on non-stop for the past 2 weeks.  Its a good thing we all love these movies and to turn it into a fun movie night we made some popcorn and these yummy monster eye cookies.


Find the recipe (and some other cute monster themed treats) at Lil Luna.

Friday, October 20, 2017

How to update your old Vinyl Signs


Chances are you have some vinyl signs in your home that you once loved but now aren't sure if it still fits in with your decor.  Instead of tossing them lets try to give it a new look.

Here's one I had in my house.  I love the quote but the colors and overall look were not quite right.  The after is quite the transformation.

I love the farmhouse look but if its not quite your style you can still use the same method just tweek the colors and the amount of sanding to give it the look you love.

Here's the Before one more time.
 Paint your sign, vinyl, everything!  I used chalk paint but I've used acrylic paint and it worked.  You want it to be a light coat on the vinyl.
 Once its dry gently sand the top of the vinyl by hand. Use a small amount and try to go right across the top of the vinyl.  Sand to your desired look.  (If you don't want a distressed look I've used my finger nail and scraped  all the paint off the vinyl without touching any of my board).
This kind of shows you the difference between sanded and not sanded. 

You can also sand and distress the rest of your board.  If you need to touch up some of the paint.
You can leave it just like this or move on the the frame section.
Cut, stain, and assemble your frame.  I like to use gorilla glue to attach it to my board and then add a few nails with the nail gun for support.  On a frame this size you can really get away with just the glue (I've only done this with gorilla glue I can't promise other glues will hold.)
Enjoy your new/old sign.


Tuesday, October 17, 2017

6 Free Imagination Watercolor Printables


I was inspired to create these new printables as I watched my 4 year old play with her barbies and dressed in a princess gown complete with sunglasses and fancy shoes.  I couldn't help but smile and hope her imagination never fades.  


I created these 3 printables (each come in 2 colors) with this thought in mind.  They would be beautiful in a set or individual.  I originally thought they would be perfect for a playroom, nursery, or kids room but the more I thought about it they really can work anywhere and apply to any of us.  I hope we all keep dreaming, keep creating, keep imagining, and keep exploring.

 The beautiful watercolor backgrounds and feathers came from Angie Makes.  They were exactly what I had in mind. 
 You can find all the downloads below.  Just click on the links to download your favorite/favorites. Save to your computer and print from home or your favorite print shop. All are sized as 8x10s.  There will be no watermark on these images.  These are for personal use only please.  Enjoy!


Monday, October 16, 2017

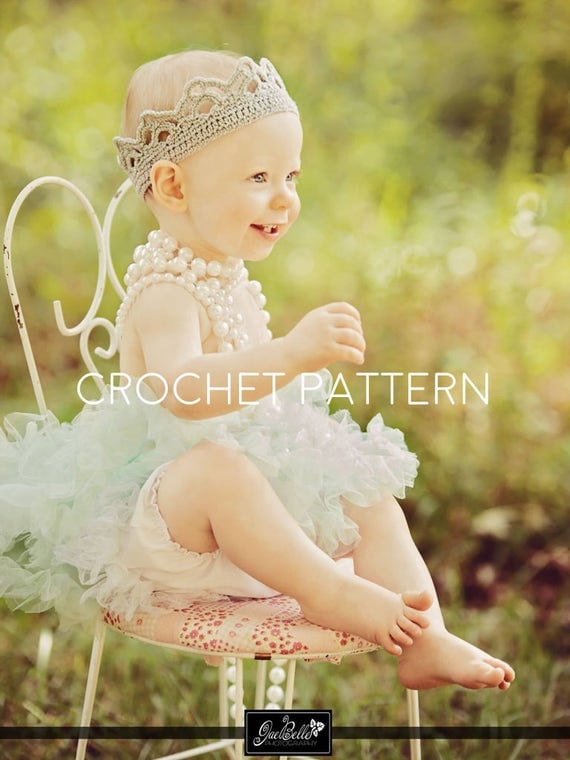
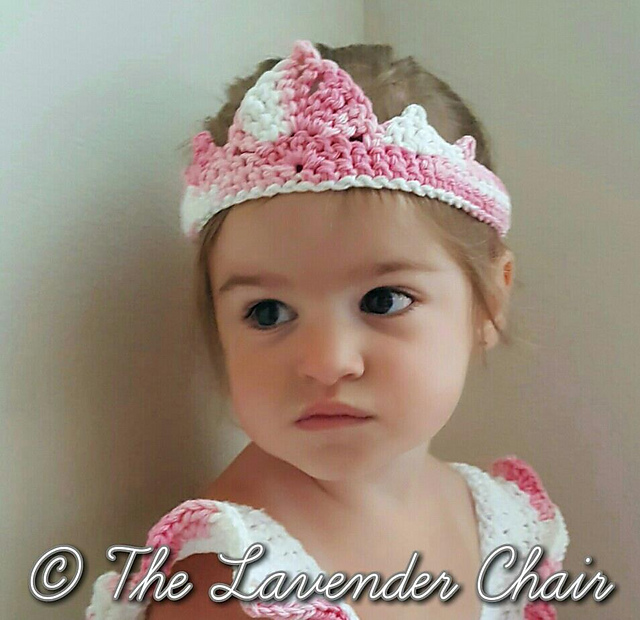
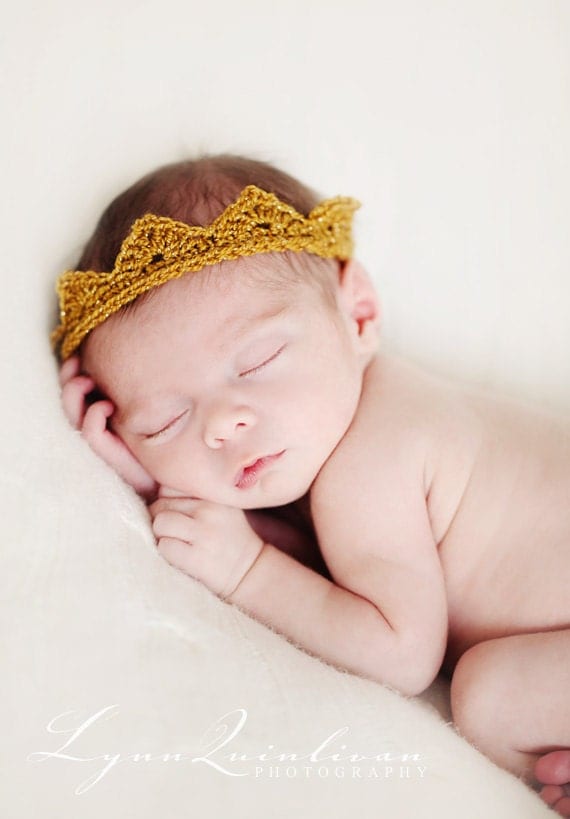
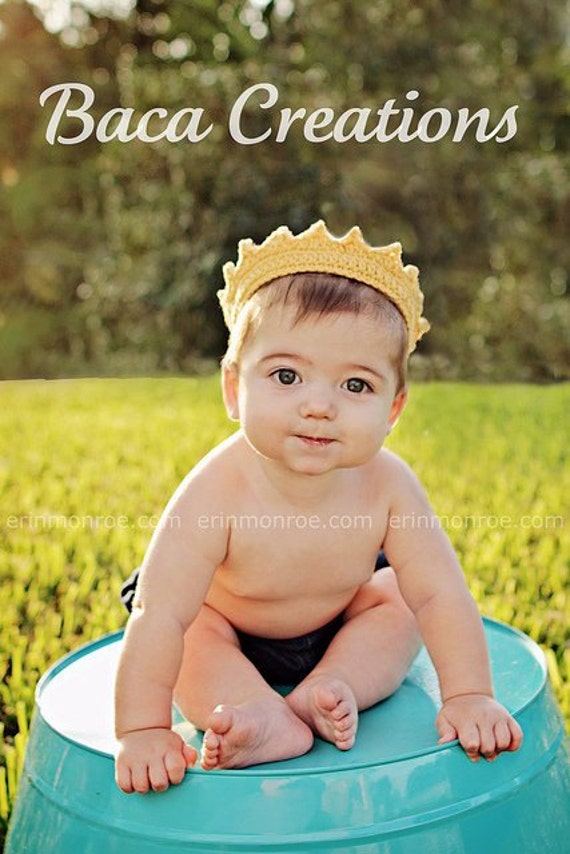
Crocheted Princess Crowns and Wands


I love the age of dress up, princess, pirates, superheros, and make believe.  I love seeing their imagination grow and get a little glimpse into their dream world.  With Halloween around the corner I wanted to share this adorable princess set I made my girls last year.  Not only are they perfect for dress up but also are pretty amazing photo props.


If you have a little one that likes to dress up and you know how to crochet (also has a knitted version) you can find the pattern I used here.

Here are a few other pattern options
Free Pattern from IraRott Designs
Free pattern found here

Free pattern for a larger sized crown found here.

Free pattern found here
Found on Etsy

Free pattern here

Baby size on etsy

Free pattern on Ravelry

one fit for a prince or princess found on etsy

and the perfect applique for any princess project found (free pattern found here)


And just a sneak peek at tomorrows post...Free Printables!  Don't worry I didn't leave out the boys :)